
The prettiest Christmas ornaments might be the ones you make.
There is something especially lovely about handmade Christmas decorations — but not every DIY has to look like a children’s craft project.
This year, we’re taking the humble salt dough ornament and giving it a little PrettyThingsClub treatment: beautiful shapes, restrained colour palettes, velvet ribbons, botanical details, antique gold accents and plenty of texture.
The result? Handmade Christmas ornaments that feel collected rather than crafty.
And the best part is that the basic recipe is incredibly simple.
The Basic Salt Dough Recipe
You only need three ingredients:
- 2 cups all-purpose flour
- 1 cup fine salt
- About ¾ cup warm water
Mix the flour and salt together, then gradually add the water until a smooth, workable dough forms.
Knead it for a few minutes until the dough feels soft and even. If it is too sticky, add a little flour. If it feels too dry, add a tiny amount of water.
Roll the dough out to roughly ¼ inch / 6 mm thick.
Then comes the fun part: cutting and decorating.
01. Heritage Christmas
Make These Instead of Buying Another Box of Ornaments.
Think traditional country-house Christmas, but handmade.
For this version, keep the ornaments mostly cream and natural, then bring in the colour through the details.
Think:
- Forest green velvet ribbon
- Burgundy and deep red accents
- Antique gold
- Evergreen branches
- Plaid
- Pinecones
- Holly berries
Classic shapes work beautifully here — stars, Christmas trees, wreaths, little houses, deer and rocking horses.
A tiny amount of gold paint around the edges or in an embossed detail can make an otherwise simple ornament feel surprisingly special.
The trick: don’t decorate every ornament differently. A limited palette makes the whole collection feel intentional.

02. Earthy & Soft
The Prettiest Christmas Ornaments Might Be the Ones You Make.
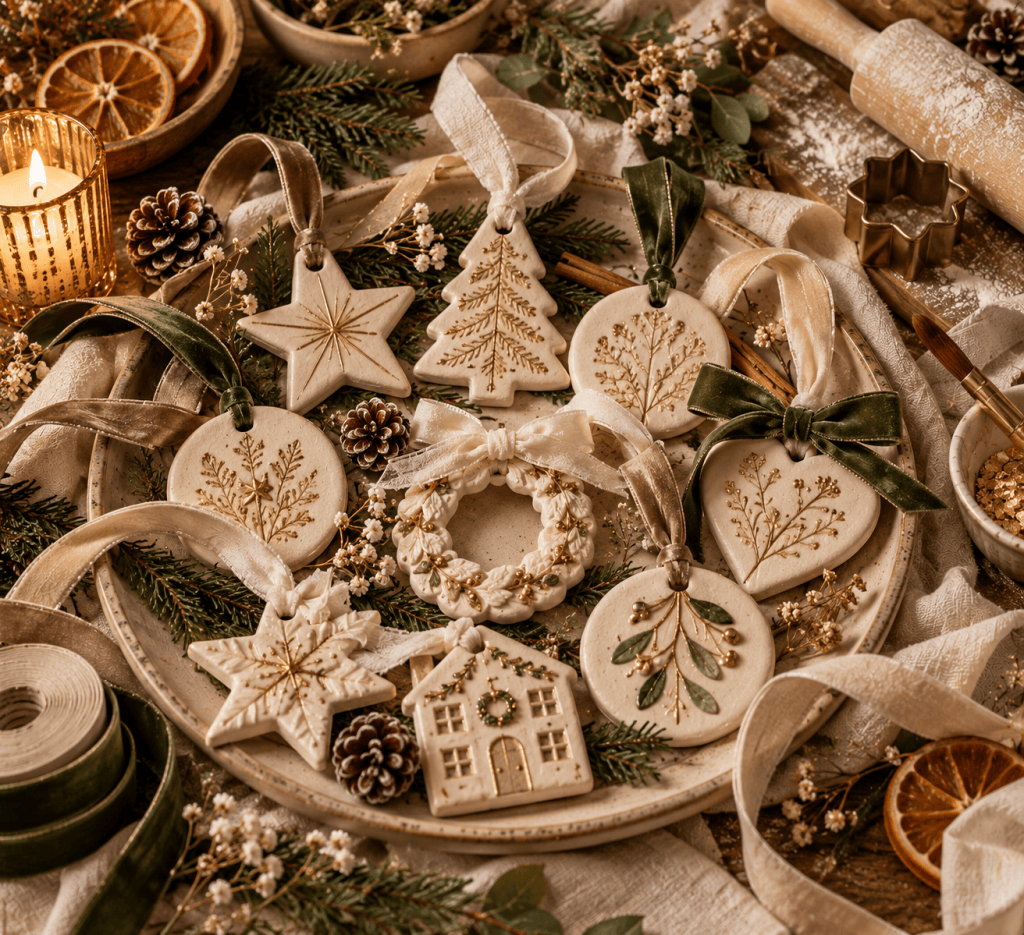
For a softer Christmas tree, leave the salt dough mostly natural and let texture do the decorating.
Use shades of:
ivory · beige · taupe · muted olive · soft brown
Press tiny botanical sprigs, leaves or textured fabric into the dough before baking to create subtle impressions.
Then finish the ornaments with linen or velvet ribbon.
Dried orange slices, pinecones, evergreen sprigs and little bundles of natural greenery make beautiful companions to this style.
This is the version for anyone who wants their Christmas decorations to feel warm, organic and quietly beautiful rather than overly festive.
03. Rich Jewel Tones
Salt Dough Ornaments, But Make Them Jewel-Toned.
If you love a Christmas tree that feels a little more dramatic, go richer.
Think:
emerald · sapphire · ruby · amethyst · antique gold
Paint the ornaments in deep, saturated shades and add small touches of gold rather than covering everything in glitter.
Velvet ribbon is particularly beautiful here.
A deep emerald tree paired with ruby bows, sapphire ornaments and antique-gold details can make handmade salt dough pieces feel almost like little pieces of vintage jewellery.
And because the ornaments themselves are relatively simple, the colour palette does most of the work.

04. Dusty Blue & Sage
A Softer Way to Decorate the Christmas Tree.
For something quieter and slightly unexpected, try replacing traditional Christmas red with dusty blue and sage green.
Keep the base of the ornaments ivory or warm cream, then add:
- Dusty blue
- Soft sage
- Champagne
- Ivory
- Muted gold
Botanical shapes, stars, snowflakes, wreaths and simple bows work especially well with this palette.
Add velvet or linen ribbon in faded blue and sage for a soft, vintage-inspired finish.
It feels festive without being overly traditional — and especially pretty against a green Christmas tree.

05. Neutral Luxury
Salt Dough Ornaments That Look Expensive.
This might be my favourite approach.
Keep everything within a very small palette:
ivory · champagne · taupe · antique gold
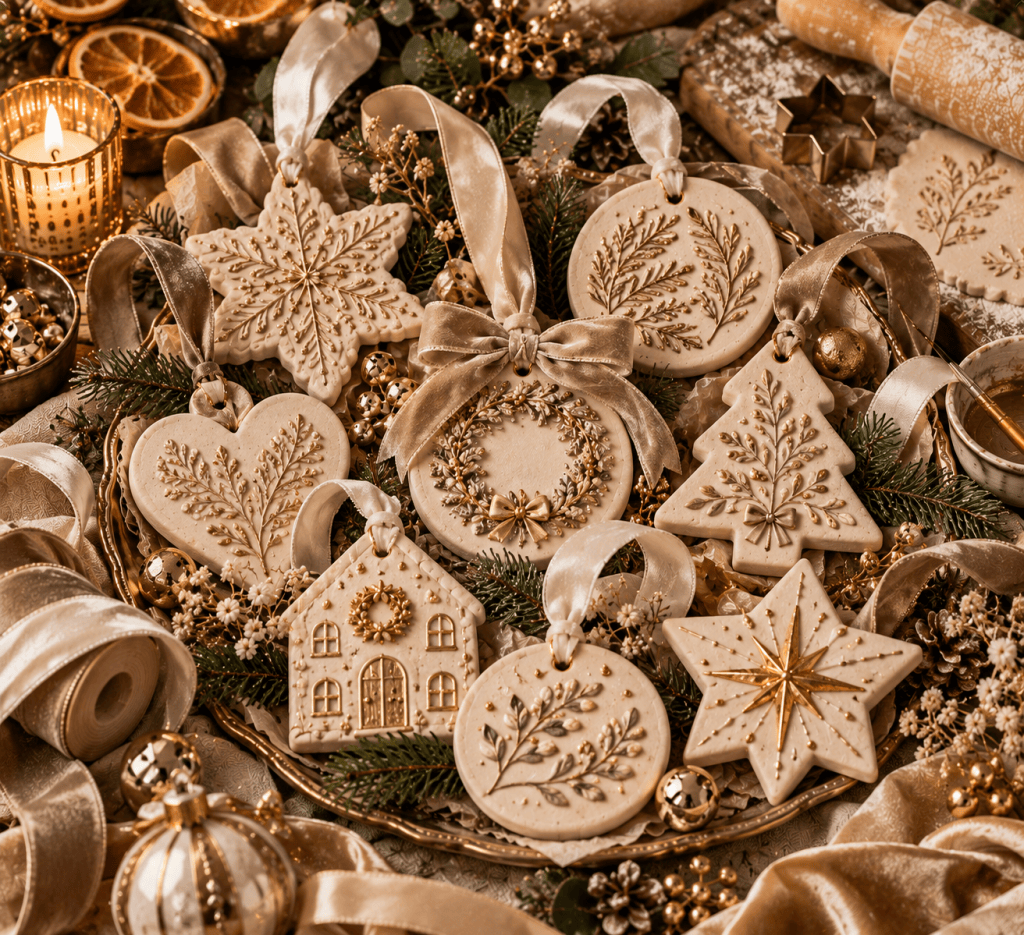
Leave the dough its natural creamy colour and use embossed botanical patterns, delicate stars, bows and wreaths as the main decoration.
Then add tiny touches of gold.
Not lots.
Just enough.
A little metallic paint along a raised edge, a tiny gold star or a champagne velvet ribbon can completely change the feeling of a simple handmade ornament.
The goal isn’t perfection.
It’s restraint.
How to Make the Ornaments
Once your dough is rolled out, cut your shapes using Christmas cookie cutters or simple paper templates.
Before baking, remember to make a small hole near the top of each ornament for the ribbon.
For extra texture, try:
- Pressing evergreen sprigs into the dough
- Using botanical stamps
- Embossing fabric or lace
- Drawing simple patterns with a skewer
- Adding tiny stars or dots
- Pressing small leaves into the surface
Bake the ornaments at a low temperature until they are completely dry and firm. Thicker ornaments will take longer, so don’t rush this step.
Once cooled, paint and decorate them.
Then add your ribbon.
And that’s really it.
The Secret to Making DIY Look Beautiful
The difference isn’t necessarily in the craft itself.
It’s in the styling.
Instead of making twenty completely different ornaments, choose one visual language and repeat it.
Choose:
one colour palette + two or three materials + a handful of shapes
For example:
Ivory dough + olive velvet + antique gold + botanical shapes.
Or:
Cream dough + burgundy velvet + forest green + plaid.
Or:
Ivory dough + dusty blue + sage + champagne ribbon.
Suddenly, the ornaments feel like a collection.
Proof that handmade doesn’t have to look homemade.
A Little Christmas DIY to Keep
You don’t need to make an entirely new collection of decorations every year.
That’s part of what makes these so nice.
Make a few this Christmas. Add more next year. Let the collection slowly grow.
Some can go on the tree, some can be tied onto presents, and a few can become little decorative accents around the house.
And eventually, you have something much nicer than another box of mass-produced ornaments:
a Christmas collection that actually feels like yours.


